There is a painful moment familiar to every graphics operator who has ever pushed content to an LED wall without properly preparing it: the perfectly designed slide deck, built painstakingly in Adobe After Effects or Keynote, looks razor-sharp on the design workstation and then renders as a blurry, pixelated mess on the actual LED surface. Understanding LED pixel pitch, native resolution, and the relationship between digital canvas size and physical LED dimensions is not optional knowledge for event graphics professionals — it is the foundation everything else is built upon.
Understanding Pixel Pitch and Native Resolution
Every LED display is defined by its pixel pitch — the center-to-center distance between adjacent pixels, measured in millimeters. A P3 (3mm pixel pitch) panel has a much higher pixel density than a P5 or P10 panel. This directly determines the native resolution of your LED surface. A 10-meter-wide by 3-meter-tall wall built from P3 panels has a native resolution of approximately 3,333 x 1,000 pixels. That same wall in P5 drops to roughly 2,000 x 600 pixels — requiring dramatically different content specifications.
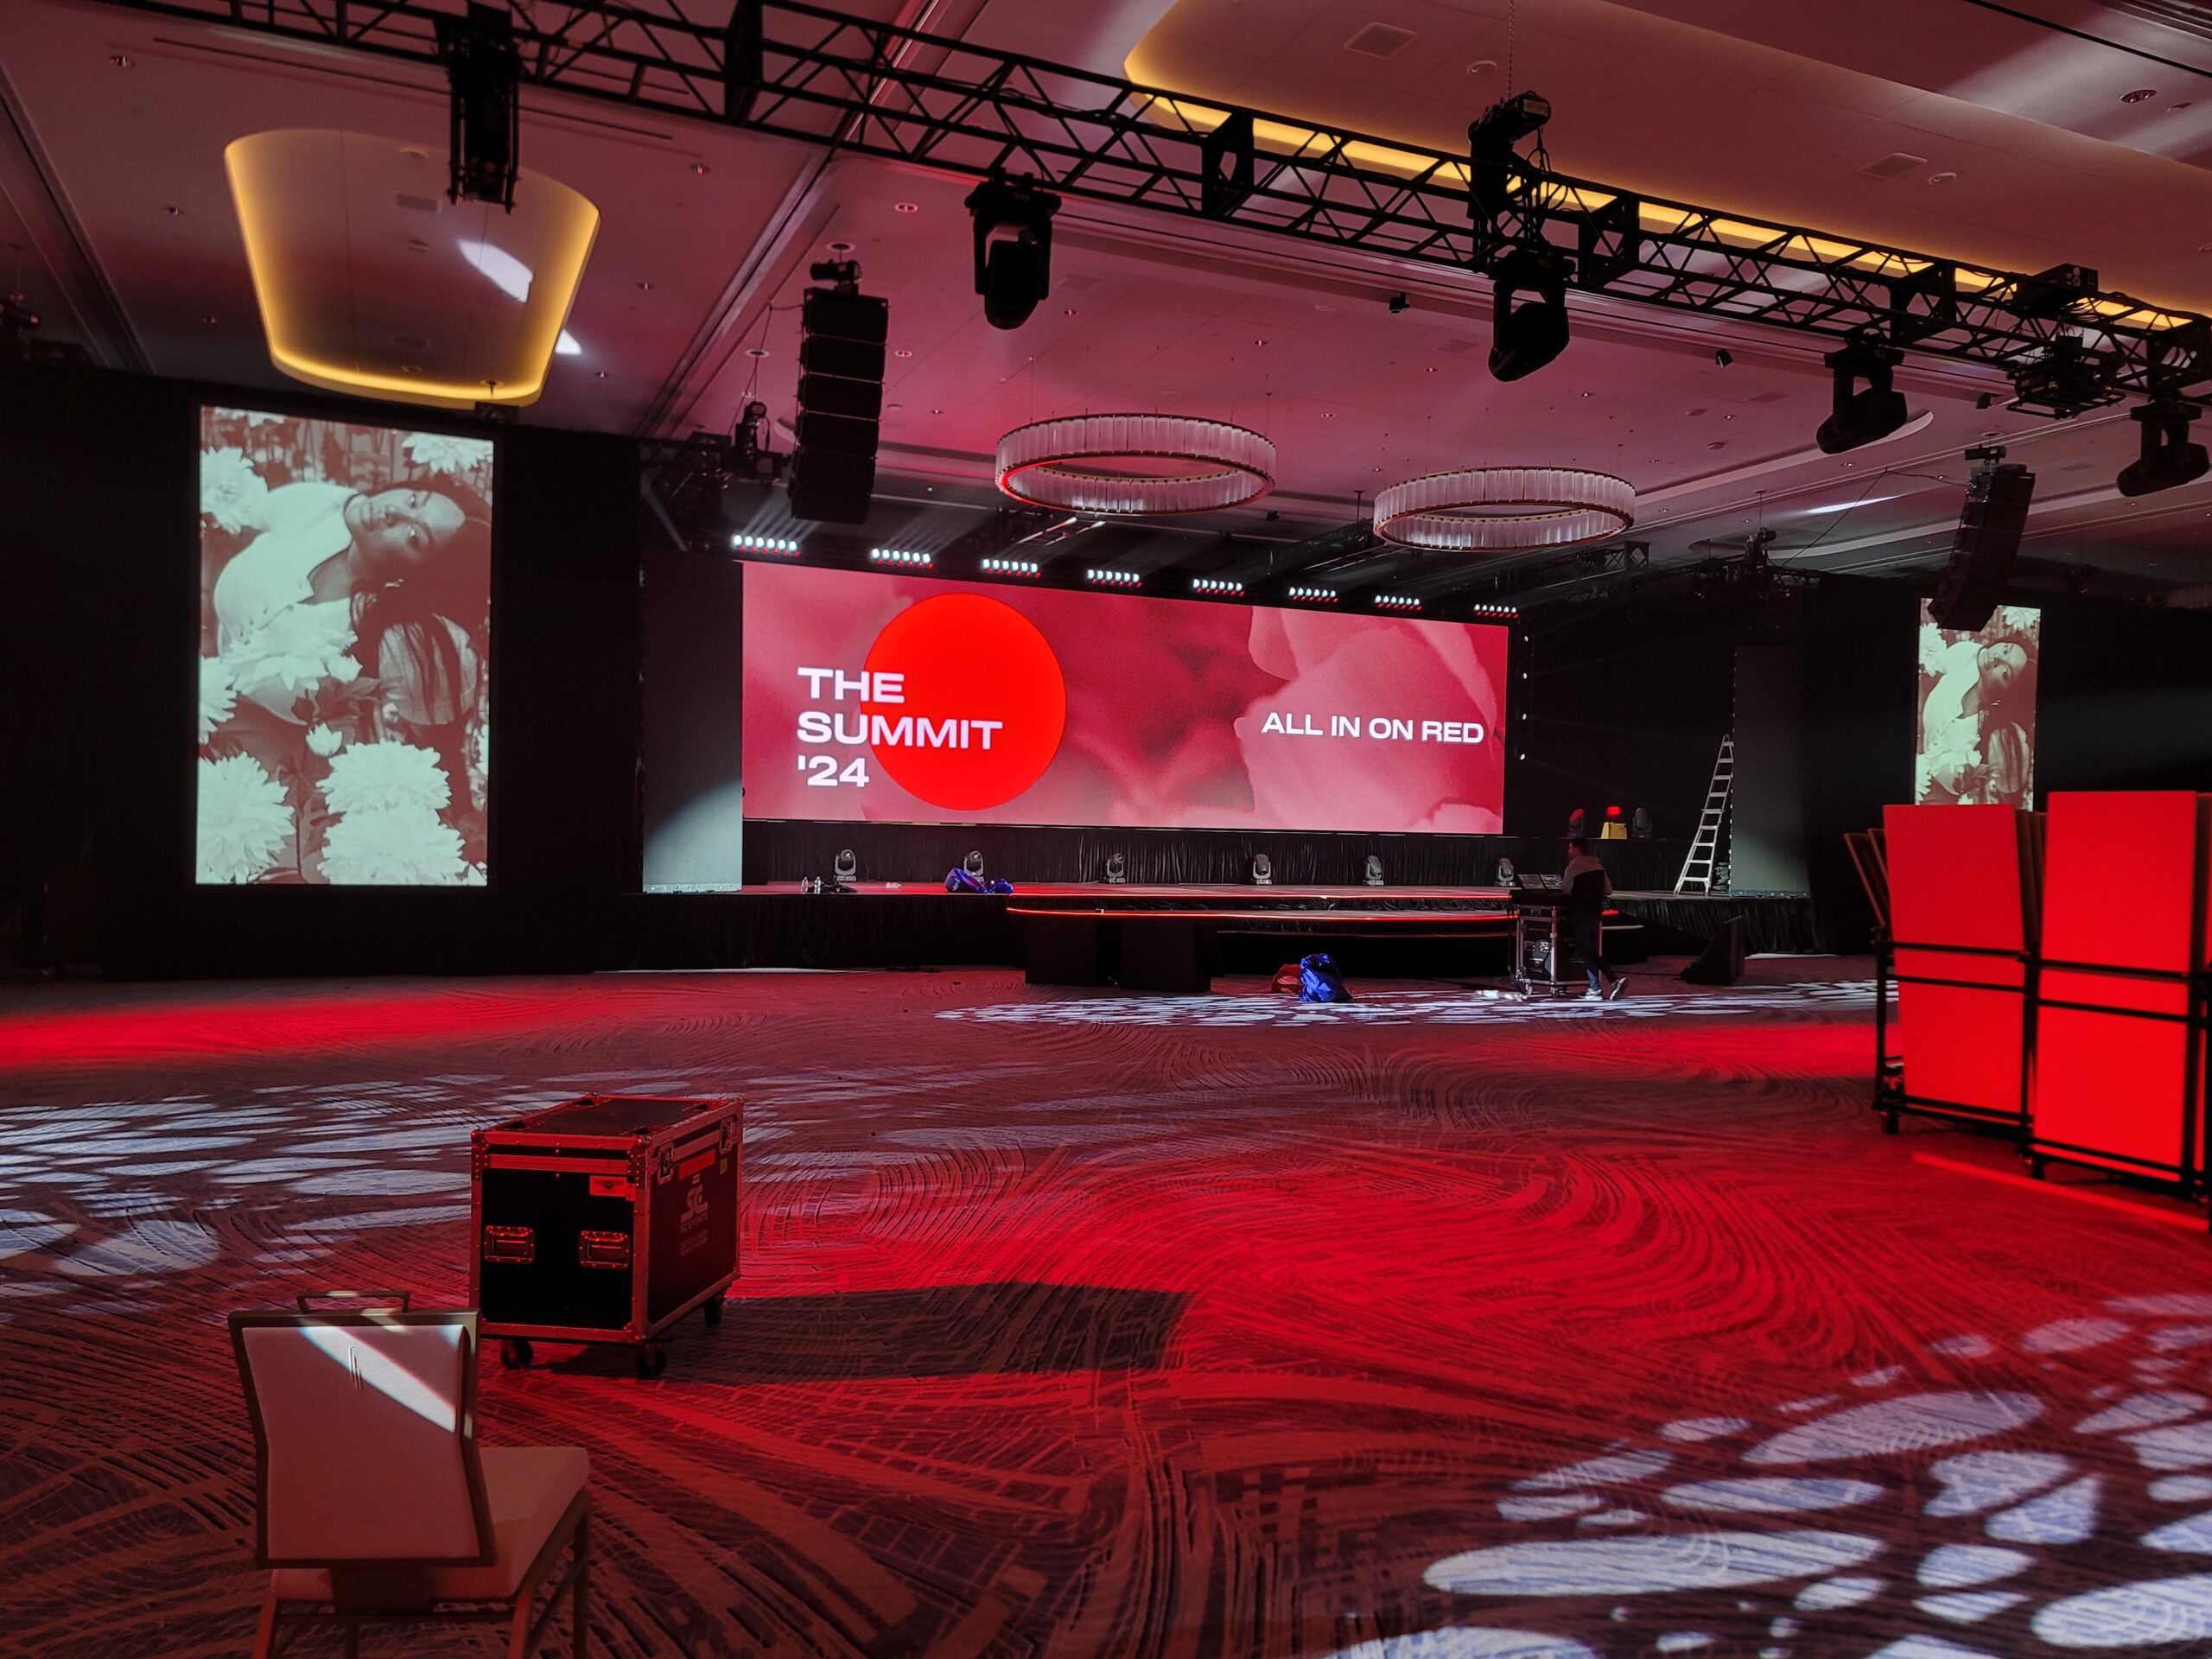
The critical mistake is designing content for 1920×1080 (Full HD) when your LED wall is neither that resolution nor that aspect ratio. Most large-format LED walls are custom-sized to the scenic design, resulting in non-standard aspect ratios like 16:4, 21:9, or completely bespoke proportions. Your content must be built to the wall’s actual pixel dimensions — not approximated from a standard broadcast resolution.
The Workflow: From Design Brief to LED Pixel Map
A professional show graphics workflow begins with the LED vendor providing a pixel map — a document specifying the exact pixel dimensions of every LED surface in the production. This document is the graphics team’s bible. Before a single frame of animation is rendered, every template, every motion graphic, every presentation slide must be built to these exact specifications.
The pixel map should specify:
- Total canvas width and height in pixels for each surface
- Aspect ratio of each surface
- Position of each surface within a unified virtual canvas if multiple walls are driven from a single system
- Refresh rate and processing chain — important for motion content timing
- Signal input format — HDMI 2.0, DisplayPort, 12G-SDI, or NDI
Software and Rendering Pipeline
The industry’s dominant tools for show graphics production include Notch for real-time generative content, Resolume Avenue and Arena for media server-based playback with mapping capabilities, disguise (d3) for complex multi-surface production design, and Adobe Creative Suite — specifically After Effects, Premiere Pro, and Media Encoder — for pre-rendered content creation. Each tool handles resolution differently, and understanding the render pipeline from design file to LED output is critical.
In After Effects, create your composition at the exact pixel dimensions of the LED surface. For a 2560×960 wall, your AE comp is 2560×960 — not a standard preset. Set your pixel aspect ratio to square (1.0) and your frame rate to match the LED processor’s specifications — typically 50fps or 60fps for smooth motion. Render to Apple ProRes 4444 or HAP codec for maximum quality and playback performance on the media server.
Scaler Behavior: The Hidden Resolution Killer
Even when content is built to exact LED specifications, signal processing scalers in the signal chain can introduce quality degradation. LED processors like the Brompton Tessera SX40, Novastar MCTRL4K, and ROE Visual Black Pearl BP2V2 have defined input resolutions that may differ from the LED wall’s native pixel count. Understanding the signal chain from media server output through the processor to the LED module is essential. A processor receiving a 1920×1080 signal and scaling it to 2560×960 introduces bilinear or bicubic interpolation artifacts — visible as softness, ringing, or aliasing on fine text and graphic elements.
The gold standard is a 1:1 pixel relationship from media server output to LED native — no scaling anywhere in the chain. Achieving this requires hardware configuration knowledge and, often, custom resolution settings in the graphics card or media server output stage. Disguise systems excel at this, offering output layer management that maps software canvases to hardware outputs with pixel-precise control.
Typography and Fine Detail: The Legibility Test
Text legibility on LED walls requires different design considerations than print or broadcast. Minimum font sizes for LED depend on the viewing distance and pixel pitch. A common guideline: text height in pixels should be at least 20-25 pixels for legibility at the LED wall’s intended viewing distance. On a P5 panel viewed from 50 feet, 24-pixel-tall text is marginal; go to 36 pixels minimum for guaranteed readability.
Avoid thin serif typefaces on low-pitch LED surfaces — the fine strokes between serifs often fall between pixels and disappear entirely. Sans-serif fonts like Helvetica Neue, Gotham, or Montserrat at medium to bold weights are the production standard for a reason: they survive the pixel grid better than their delicate counterparts.
The Show-Day Check: Trust But Verify
No content specification process is complete without a physical screen test on the actual LED panels to be used at the event. Panels from different manufacturers — and even different production batches of the same model — can exhibit different color gamuts, brightness characteristics, and pixel rendering behaviors. Load every piece of content onto the media server, push it to the wall, and evaluate it at the intended viewing distance before the client walks in. What passes a desktop review may not survive contact with actual LED glass.